Discovering and Using the Unique Features of OM System Cameras
OM System Cameras have an enormous range of unique and uncommon features. Getting to know what they do can open up whole new photographic opportunities.
Full disclosure: Ivor Rackham is an OM System Ambassador.
It’s widely acknowledged that OM System is a market leader in innovative features and computational photography. The cameras sport a range of often exclusive functions that let you do things with them that most other cameras cannot. If you own one of their cameras, you may have noticed features that intrigue you. Therefore, here are brief explanations of major features and where to find them.
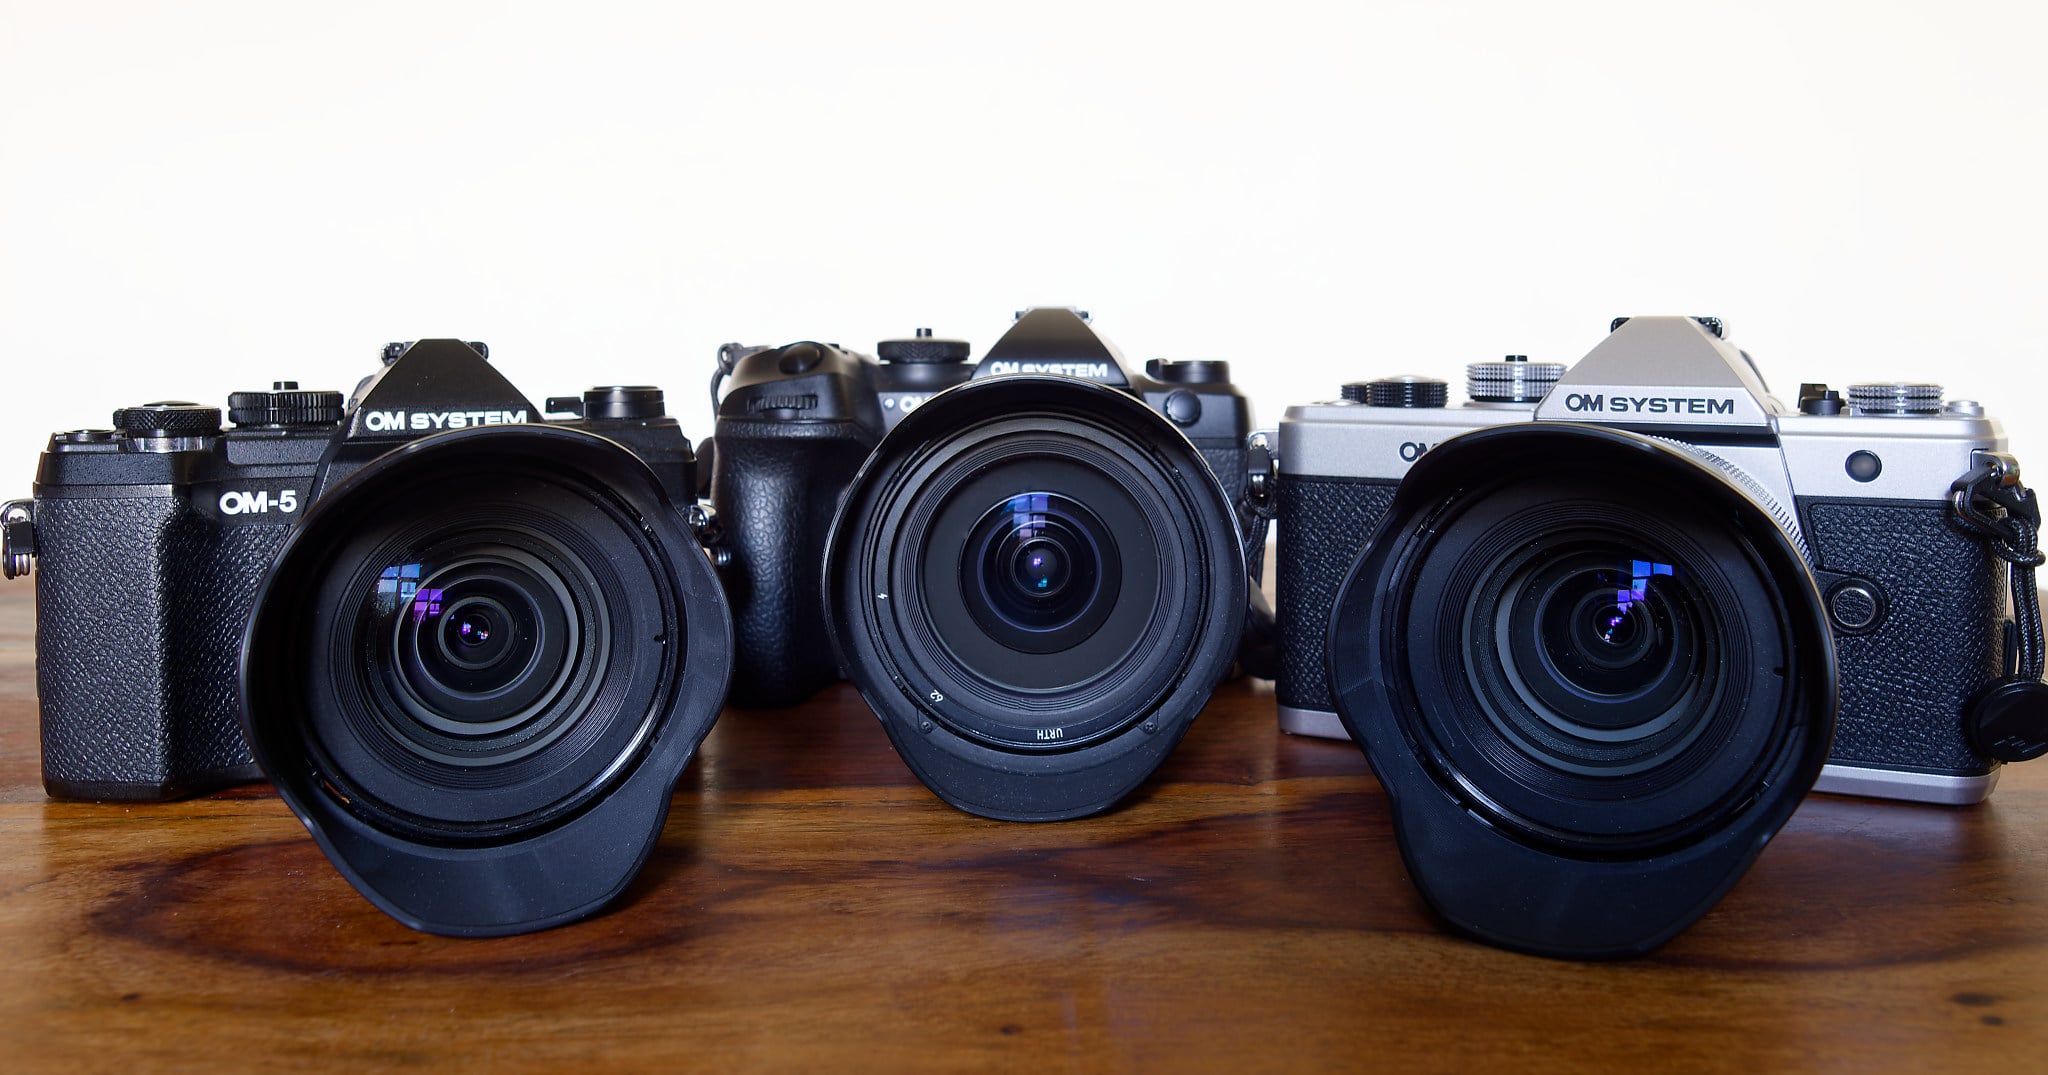
While the following functions are available on the OM-1 Mark II flagship model, not all features are available on every camera in the range. I have included the menu position on the OM-1 Mark II, and it will be similar, if not precisely the same, on the other models. There will be some more pronounced differences, too. For example, the OM-3 has a creative dial on the front of the camera that accesses some functions, and it shares with the OM-5 Mark II a CP button that serves as a shortcut to computational photography settings. The OM-1 has neither of these. Meanwhile, the most basic OM-D E-M10 Mark IV still uses the old menu system.
High Res Shot uses sensor-shift technology to produce ultra-high-resolution images. The camera shoots several photos in quick succession, moving the sensor slightly and precisely between each frame. It then combines these into a single high-resolution image.
There are two options. Handheld, it can produce a 50-megapixel image (8,160 × 6,120 pixels). However, when used with a tripod, it will produce a massive 80-megapixel image (10,368 × 7,776 pixels).
Available on: OM-1 Mark II, OM-3, OM-5 Mark II
Navigation: On the OM-1 Mark II: Menu > Camera 2 > 1. Computational Modes
This function applies a Neutral Density filter digitally, up to ND128 on the OM-1 Mark II. That means you can achieve much slower shutter speeds than would otherwise be possible without fitting a filter to the lens. It is only available in Shutter Priority and Manual Modes.
Although typically used for waterfall and seascape photography, you can also use it for other creative photos and, if necessary, in conjunction with a glass filter.
Available on: OM-1 Mark II, OM-3, OM-5 Mark II
Navigation: On the OM-1 Mark II: Menu > Camera 2 > 1 Computational Modes. > OK
Live GND works similarly to Live ND Shooting. It digitally applies a graduated neutral density filter to balance exposure between bright skies and darker foregrounds. You can use the joystick and arrow keys to move and adjust the filter’s position.
Available on: OM-1 Mark II, OM-3
Navigation: On the OM-1 Mark II: Menu > Camera 2 > 1 Computational Modes. Only available in Manual and Shutter Priority modes.
This feature automatically captures multiple images at different focus points and combines them to achieve an extended depth of field throughout the scene.
The camera automatically adjusts focus incrementally across the scene, then processes the images to create a single photo with sharp focus from foreground to background.
Mainly used in macro work, it’s also useful for product and landscape photography, as well as scientific and technical documentation, all of which require front-to-back sharpness.
Available on: OM-1 Mark II, OM-3, OM-5 Mark II, TG-7
Navigation: On the OM-1 Mark II: Menu > Camera 2 > 1 with compatible lenses.
This feature automatically captures multiple exposures and combines them to preserve detail in both highlights and shadows.
The camera captures several images at different exposure values and computationally merges them to create a single image with an extended dynamic range, revealing details in both highlights and shadows. It’s perfect for high-contrast scenes, such as interior photography with windows or landscape photography in challenging lighting.
Available on: OM-1 Mark II, OM-3, OM-5 Mark II, OM-D E-M10 Mark IV, PEN E-P7, TG-7
Navigation: on the OM-1 Mark II: Menu > Camera 2 > 1 >
Live Time provides a real-time preview during long exposures, allowing photographers to see the image building up on the Live View screen and stop the exposure at the right moment. It updates the preview at set intervals during long exposures, showing the image’s progressive development. Live Time requires two presses on the shutter release button, one to start the exposure and one to end it. Live bulb functions with the shutter button fully depressed throughout the shot.
It’s used for night photography with precise exposure control and for astrophotography, which requires exact timing. Many also use the feature for creative long exposure work.
Available on: OM-1 Mark II, OM-3, OM-5 Mark II, OM-D E-M10 Mark IV, PEN E-P7
Navigation: Switch to bulb mode and turn the rear adjustment dial to select. Then press the menu button, then the rear dial to select the desired image refresh time, and press OK. The front dial changes the aperture.
Live Composite combines multiple long exposures, adding only new, brighter elements to the image. One takes an initial base exposure, then adds only the brighter pixels from subsequent exposures, preventing overexposure while building up light trails.
Apart from star and traffic-light trail photography, it’s also for light painting, creative lighting, and fireworks photography.
Available on: OM-1 Mark II, OM-3, OM-5 Mark II, OM-D E-M10 Mark IV, PEN E-P7
Navigation: Switch to bulb mode and turn the rear adjustment dial to select Live Comp. Then, press the menu to change the shutter speed for each composite frame. Press the shutter button once to set up the shot and a second time to begin composite shooting.
Pro Capture first appeared on the Olympus OM-D E-M1 Mark II back in 2017. Other manufacturers are now adopting it, and it appears in their top-end cameras. It continuously buffers images and saves frames both before and after the shutter is pressed, ensuring precise timing for unpredictable subjects. Therefore, it removes your reaction time from the equation, saving the moment of shutter release plus several frames before it.
With Continuous Autofocus, the OM-1 can capture 50 raw frames per second, or 120 raw frames with single autofocus.
Pro Capture is useful for wildlife photography, especially with unpredictable subjects such as birds. Also, sports and action photographers use it when split-second timing is essential.
Available on: OM-1 Mark II, OM-3, OM-5 Mark II, TG-7
Navigation: In the Super Control Panel on the OM-1 Mark II, left-hand column, third row up. It usually says S-AF, C-AF, MF, etc. Select Pro Cap or SH1 for Pro Capture with continuous autofocus or SH1 for Single Autofocus. The fastest speeds are available only on certain lenses.
Subject Detection is a focus feature that automatically recognizes and tracks specific subject types, including humans, cats and dogs (and other mammals), motor vehicles, airplanes, trains, and birds.
It uses artificial intelligence algorithms to identify subject types and automatically adjust autofocus tracking for optimal results. For creatures, it focuses on the eyes.
This feature has revolutionized wildlife photography and especially bird photography. The other subjects on the list of available subjects benefit equally from its functionality.
Available on: OM-1 Mark II, OM-3
Navigation: On the OM-1 Mark II: In the Super Control panel, 2nd column, third row.
This specialized autofocus system achieves sharp focus on stars and celestial objects in low-light conditions. It uses advanced algorithms to detect and focus on point light sources, such as stars, even in extremely dark conditions.
It’s used for astrophotography and night-sky imaging, as well as for landscape photography under starry skies.
Available on: OM-1 Mark II, OM-3, OM-5 Mark II
Navigation: On the OM-1 Mark II, in the super control panel, select the left-hand column and the third row up. Scroll through the autofocus settings to the star symbol. Adjusting the settings is in Menu > AF > 1 > Starry Sky AF Settings > OK.
By digitally adjusting the image geometry, keystone compensation automatically corrects converging vertical lines and perspective distortion when photographing tall buildings or other architectural subjects.
Available on: OM-1 Mark II, OM-3, OM-5 Mark II, OM-D E-M10 Mark IV, PEN E-P7
Navigation: On the OM-1 Mark II, Menu > Camera 2 > 2. Other Shooting Functions > Keystone Comp
Multiple exposure combines images into a single frame with various blending modes for creative effects. It works by overlaying multiple exposures and then blending them to create artistic compositions.
Available on: OM-1 Mark II, OM-3, OM-5 Mark II, OM-D E-M10 Mark IV, PEN E-P7, TG-7
Navigation: On the OM-1 Mark II: Menu > Camera 2 > 1 >
The Art filters apply various in-camera artistic effects. It processes images through artistic algorithms that simulate various photographic and artistic styles. Art Bracketing captures the same scene with multiple filter effects simultaneously.
Available on: OM-1 Mark II, OM-3, OM-5 Mark II, OM-D E-M10 Mark IV, PEN E-P7, TG-7
Navigation: On the OM-1 Mark II Super Control Panel, First Column, Fourth row up.
As its name suggests, Fisheye compensation corrects barrel distortion from fisheye lenses while maintaining the ultra-wide field of view. It does this by applying digital correction algorithms to reduce.
Available on: OM-1 Mark II, OM-3, OM-5 Mark II, OM-D E-M10 Mark IV, PEN E-P7
Navigation: On the OM-1 Mark II: Menu > Camera 2 > 2 >
This digital wizardry does more than simply cropping the frame. Using interpolation and sharpening through intelligent upscaling algorithms, it extends the effective focal length of lenses, providing a 2x digital zoom while maintaining image quality.
Available on: OM-1 Mark II, OM-3, OM-5 Mark II, OM-D E-M10 Mark IV, PEN E-P7, TG-7
Navigation: On the OM-1 Mark II: Menu > Camera 2 > 2 >
Allowing you to take up to 9,999 frames at an interval you specify from 1 second to 24 hours, it then compiles the shots into a time-lapse movie.
Take your camera out in the rain or a sandstorm, and it withstands it with no problems. However, it must be paired with a lens that has the same weather sealing to take advantage of that feature.
The in-body image stabilization (IBIS) is second to none. It works by moving the sensor to counteract your movement, thus allowing you to handhold the camera at much slower shutter speeds than would otherwise be possible. The setting is in the Super Control Panel in the right-hand column, second row up.
In most circumstances, you can leave this on auto. However, when tracking moving subjects, you may want to turn it off or choose S-IS 2, which eliminates only vertical shake. That is necessary for subjects moving horizontally. S-IS 3 stops horizontal shake, so it is good for vertically moving subjects.
Different levels of availability on all OM System cameras.
Navigation: On the OM-1 Mark II super control panel, fourth column, second row up.
Widely recognized as the best sensor dust removal system of any camera, it shakes a filter element set above the sensor, not the sensor itself, as happens on other cameras. That reduces mechanical stress on the sensor, allows a very high vibration frequency, and improves dust efficiency. (In 20 years of Olympus/OM System ownership, I have never needed to clean dust off the filter.)
Navigation: Turn your camera off and on again.
Finally, the OM System shares this format with Panasonic and over 60 other companies. Don’t overlook the advantages of the smaller Micro Four Thirds sensor.
Apart from making the entire system smaller and lighter, it effectively gives lenses double the reach of full-frame cameras with 35mm sensors. For wide-angle shots, you, of course, need a wider-angle lens than with a full-frame camera, but these are readily available. But if you are photographing a bird, it will appear twice the size in the frame. Contrary to popular belief, Micro Four Thirds also provides a shallower depth of field at any given focal length and aperture combination than full-frame or APS-C. Consequently, the background will be blurrier than if the same lens were fitted to a full-frame model.
I hope you found that very brief guide to your OM System camera’s features useful. For each of those functions, there will be books and videos explaining their use in more depth, and there is likely to be an OM System Ambassador near you who can give you a hands-on lesson. It will be great to see some of your photos taken with your OM System camera in the comments below.